What You Need Before You Start
Gather everything before you begin — running around with wax on your skin is not fun.
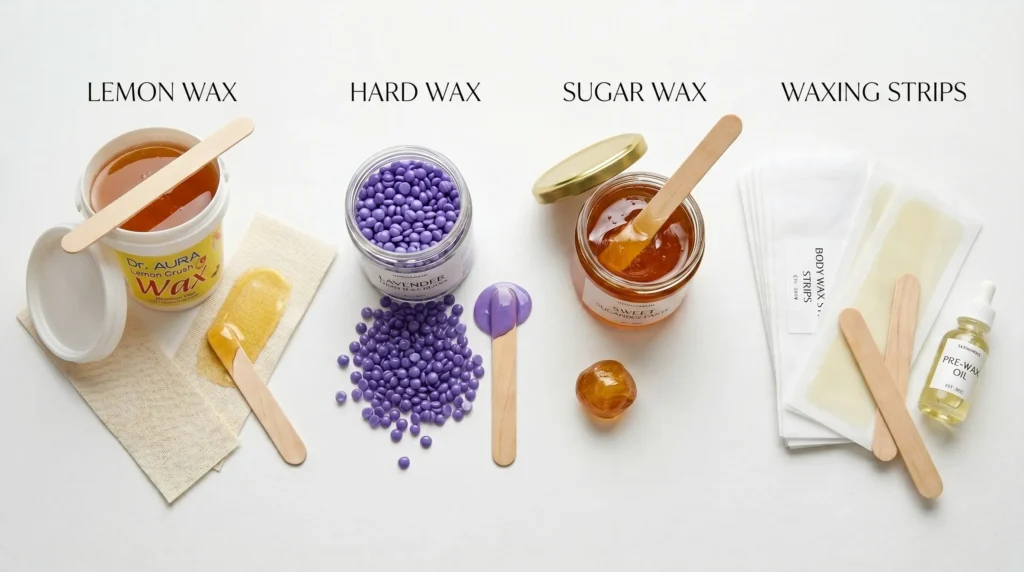
Your home waxing checklist:
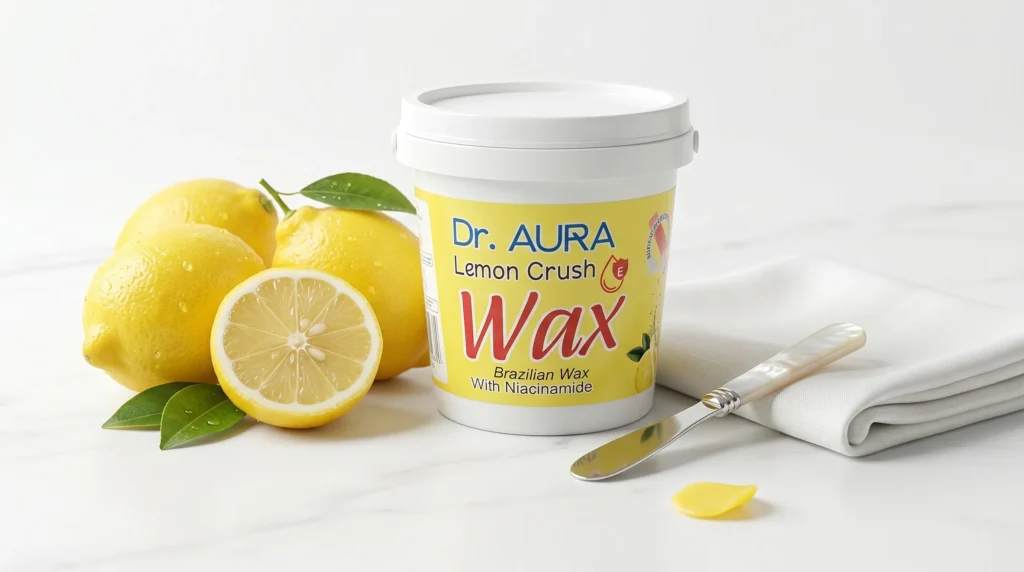
- Good quality wax — Dr. AURA Lemon Wax recommended
- Waxing strips — fabric or non-woven
- Spatula or applicator
- Talcum powder
- Clean towel
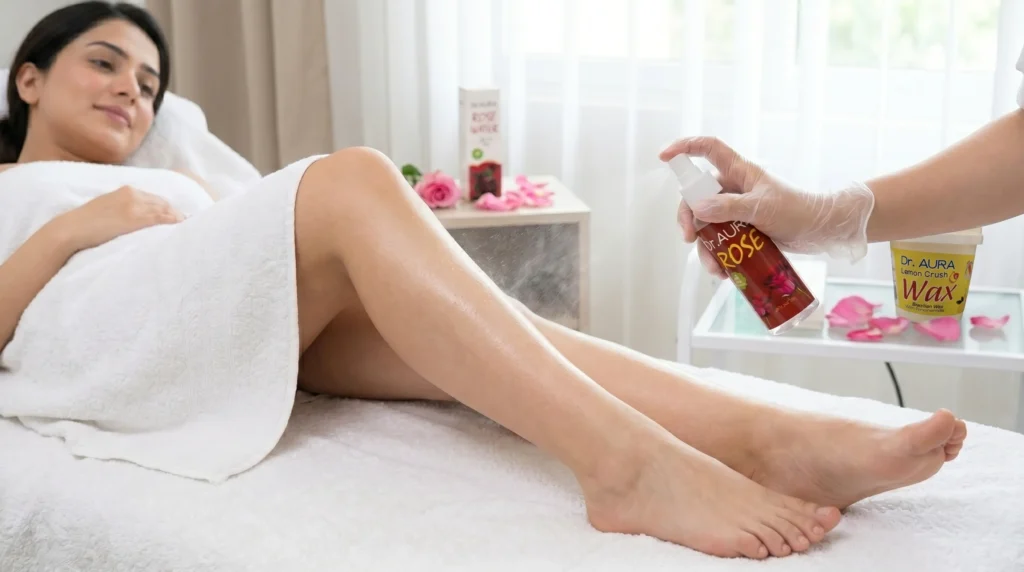
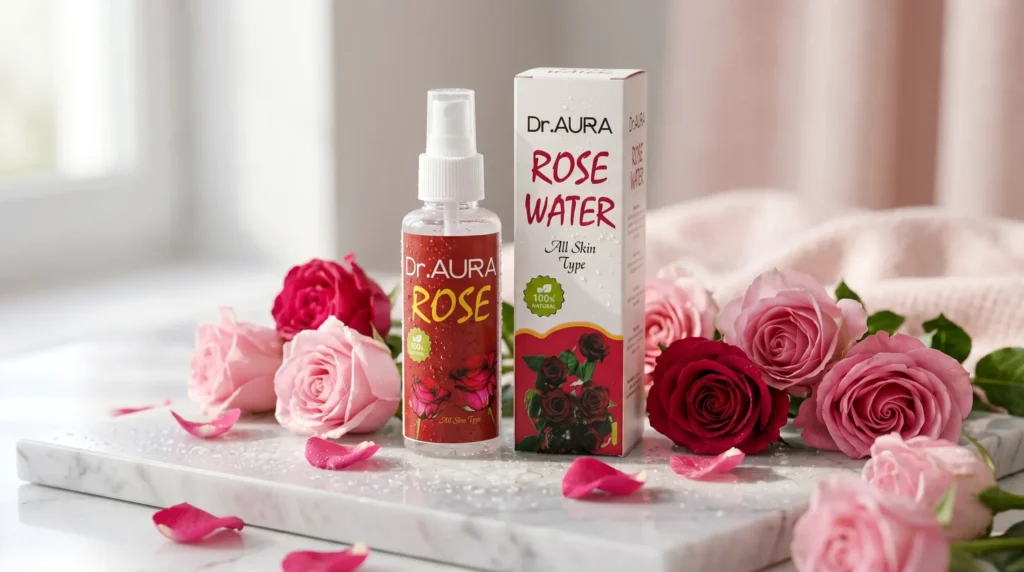
- Post-wax soothing product — Dr. AURA Rose Water works perfectly
- Mirror for hard-to-reach areas
How to Prep Your Skin Before Waxing
Good preparation is the difference between a smooth, comfortable wax and an irritating, painful one. Never skip this step.
Step 1 — Check Your Hair Length
Your hair needs to be at least 0.5 to 1 cm long — roughly the size of a grain of rice. Too short, and the wax cannot grip the hair. Too long, and removal becomes more painful and messy.
If your hair is longer than 1 cm, trim it down before waxing.
Step 2 — Exfoliate 24 Hours Before
Gently exfoliate the area you plan to wax — 24 hours before your session, not on the same day. Exfoliation removes dead skin cells that can trap hair and cause ingrown hairs.
Use a gentle scrub or loofah. Avoid harsh exfoliants.
Step 3 — Cleanse the Area
Before waxing, wash the area with mild soap and water to remove oil, sweat, dirt, and any skincare products. These can prevent wax from gripping the hair properly.
Step 4 — Dry Thoroughly
This is critical. Wax does not stick properly to damp or sweaty skin — especially important in Pakistan’s humid summer weather. Dry the area completely with a clean towel.
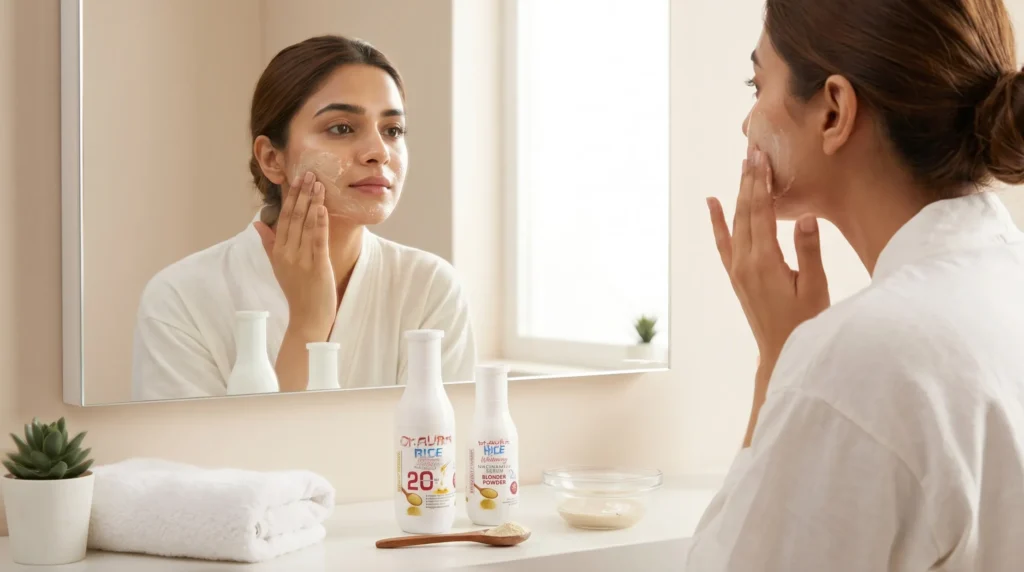
Step 5 — Apply Talcum Powder
A light dusting of talcum powder on the area absorbs any remaining moisture and creates a better surface for the wax to grip. This is especially helpful during Pakistan’s hot and humid summers.
What to Avoid Before Waxing
- Do not wax sunburned or irritated skin
- Do not apply any moisturizer or oil before waxing
- Avoid retinol or retinoid products for at least 4-5 days before waxing
- Do not wax right after a shower — wait at least 30 minutes
- Avoid waxing during your period — skin is more sensitive
How to Wax at Home — Step by Step
Step 1 — Prepare the Wax
Make sure your wax is in a smooth, spreadable consistency before use. It should not be too thick or too runny. Always check the texture before applying to the skin. It should feel soft, easy to spread, and comfortable on contact — never harsh or uncomfortable.
Dr. AURA Lemon Wax is designed to maintain a ready-to-use consistency, making the waxing process quick, easy, and beginner-friendly without the need for extra preparation.
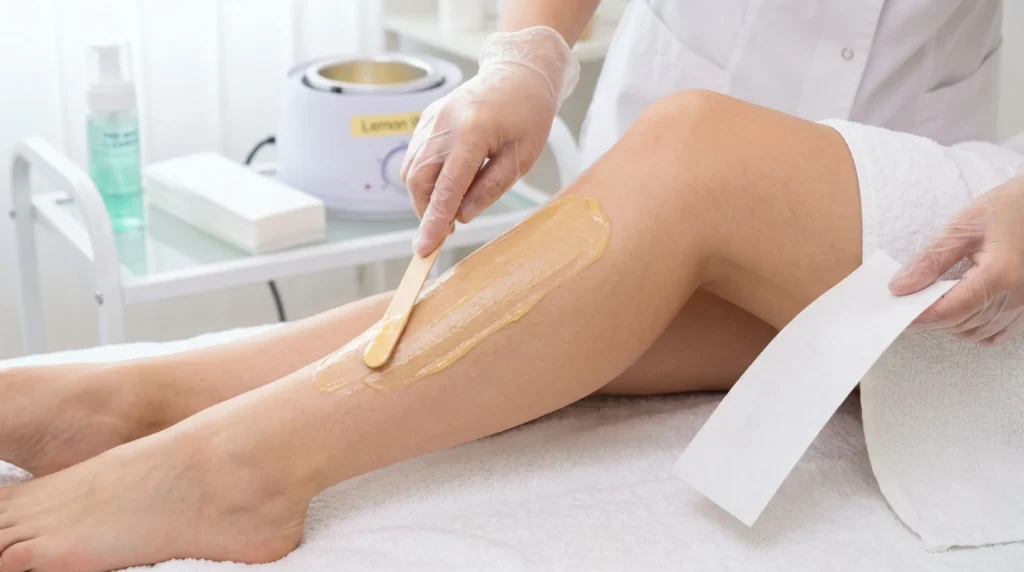
Step 2 — Apply in the Direction of Hair Growth
Using a spatula, apply a thin, even layer of wax in the direction your hair grows. This allows the wax to wrap fully around each hair for a cleaner pull from the root.
Always work in small sections — do not try to wax a large area all at once.
Step 3 — Place the Waxing Strip
Place a waxing strip over the wax and press firmly with your hand — rubbing in the direction of hair growth. Make sure the strip is fully adhered to the wax.
Step 4 — Pull Quickly and Confidently
Hold your skin taut with one hand. With the other hand, grip the end of the strip and pull quickly and firmly in the opposite direction of hair growth — keeping the strip parallel to the skin, not upward.
The most common mistake is pulling slowly. A slow pull causes more pain and leaves hair behind. Be confident and pull fast.
Step 5 — Press the Area Immediately
Right after removing the strip, press your hand firmly on the waxed area for a few seconds. This calms the skin and reduces the stinging sensation immediately.
Step 6 — Repeat on the Next Section
Move to the next small section. Never go over the same area more than twice in one session — this causes redness and irritation.
Step 7 — Remove Any Remaining Residue
Use a little oil or post-wax cleanser to remove any leftover wax residue from the skin. Never pull dry wax off without a remover — it can damage the skin.